


This article contains step-by-step information on updating the maps and software on your display powered by RIDE COMMAND.
Updating Slingshot Software
To update your vehicle's software, follow these steps. Note: The website might look different compared to screenshots in the video.
On your computer:
1. Go to ridecommand.slingshot.polaris.com. Scroll to the bottom of the page.

2. Select MAP & SOFTWARE UPDATES and select the 2017-2019 7" DISPLAY.

3. Download the latest firmware to a USB flash drive (file cannot be in a folder). A flash drive 8 GB or larger is required. The flash drive must be formatted to FAT32 before downloading the software.
On your Slingshot:
1. Connect USB drive (with software) to USB cable. To identify the vehicle's USB cord/cable location, refer to the Owner's Manual. Connect the vehicle to a trickle charger.
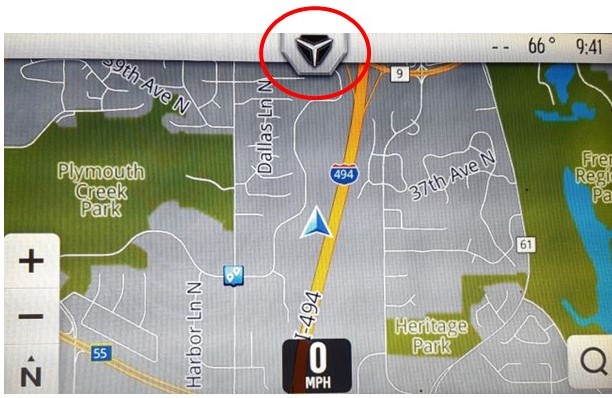
2. Go to the settings menu and select UPDATE SOFTWARE. To get to the settings menu, hit the Slingshot logo button at the top of the screen.
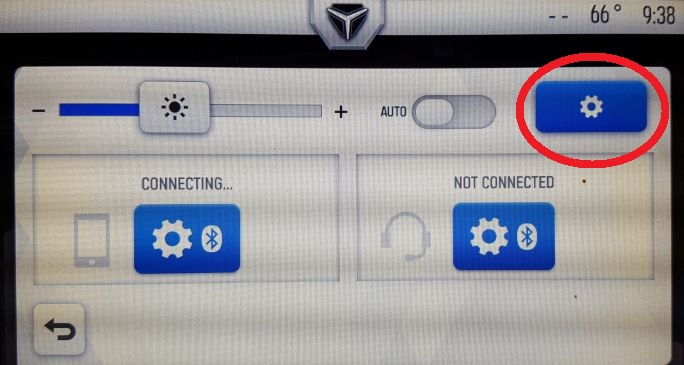
3. Select the settings button in the upper-right corner.
4. Select GENERAL from the left menu tabs. Under the general settings menu, scroll down and select UPDATE SOFTWARE.
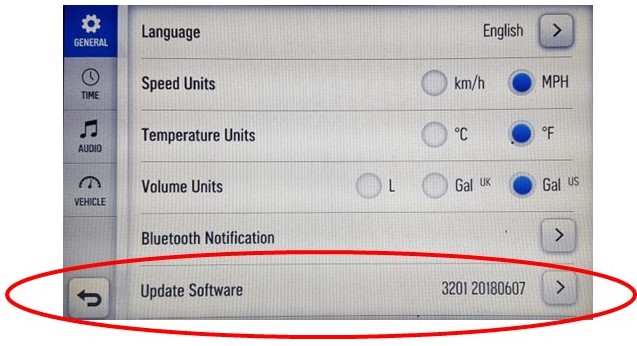
6. Select the software file and follow the on-screen instructions. This may take a few minutes to complete. The display will reboot and install the software.
Note: The Update Software section in General Settings also will tell you what version currently is installed on your Slingshot. For example, the RIDE COMMAND unit shown below is running software from June 7, 2018.

Updating Slingshot Maps
To update your vehicle's maps, follow these steps. Note: The website might look different compared to screenshots in the video.
On your display powered by RIDE COMMAND:
1. Connect an empty USB drive to the USB cable. A flash drive 8 GB or larger is required. The flash drive must be formatted to FAT32 before connecting to your Slingshot. To identify the vehicle's USB cable location, refer to the Owner's Manual. Connect the vehicle to a trickle charger.
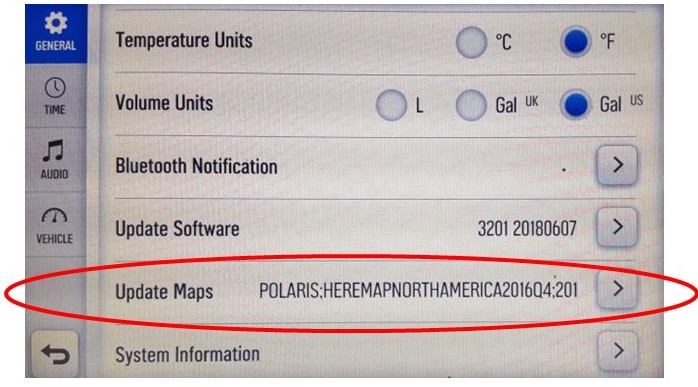
2. Go to the settings menu by tapping the Slingshot logo at the top of the screen, select SETTINGS and GENERAL, then select UPDATE MAPS.
3. Select CREATE KEY in the pop-up menu. Disconnect the USB when completed.
On your computer:
1. Connect the USB drive (with key on it) to computer and log in to ridecommand.slingshot.polaris.com. Scroll to the bottom of the page to find the updates.
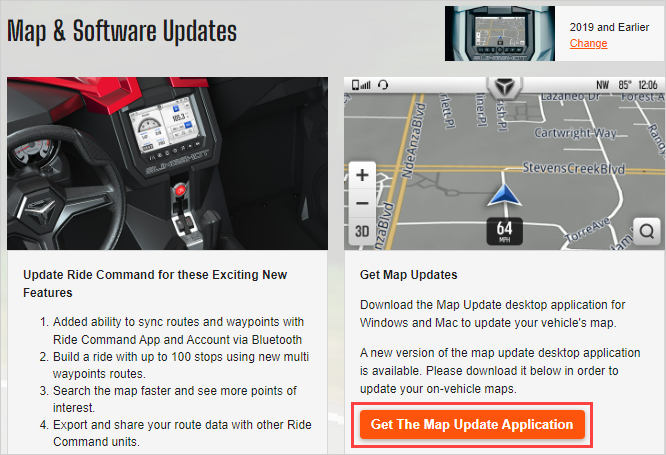
2. Using the links on the left-hand side of the page, navigate to MAP & SOFTWARE UPDATES, and select 2017-2019 7" DISPLAY.
3. Select GET THE MAP UPDATE APPLICATION.
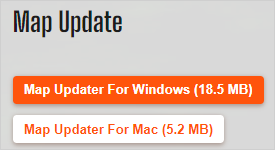
4. Launch the Map Update application, choosing either Windows® or Mac®. The file will download.
5. Save the file to the USB drive you used to create the key (file cannot be in a folder). The downloaded file does not need to be opened on the computer. An 8GB USB drive is required.
Return to your Slingshot:
1. Reconnect the USB drive to the USB cable. Connect the vehicle to a trickle charger.
2. Go to the settings menu and select UPDATE MAPS.
3. Select UPDATE MAPS in the pop-up menu and follow the on-screen instructions. This may take up to 30 minutes to complete.
Note: The Update Maps button in General Settings display the currently installed version.

Before updating your display, we recommend syncing your rides and places. To do this, either log in to your Slingshot account on your display or pair your display with the Slingshot App. If you are unable to sync with RIDE COMMAND, we recommend saving your rides and places to a USB drive.
More RIDE COMMAND information for your Slingshot can be found on the Slingshot RIDE COMMAND website.
MAC® is a registered trademark of Apple Inc
exFAT® and Microsoft® are registered trademarks of Microsoft Corporation
YouTube® is a registered trademark of Google LLC
Unless noted, trademarks are the property of Polaris Industries Inc.
© 2024 Polaris Industries Inc.


